Every time concerns about WordPress’s future resurface, the same reassurance appears:
“WordPress isn’t going anywhere.”
But history suggests that statement should never be accepted without scrutiny.
Many platforms once viewed as permanent fixtures of the web eventually declined – not because of one catastrophic failure, but because the web evolved faster than they did.
So in 2026, the real question isn’t whether the WordPress drama has ended.
It’s whether WordPress itself is entering the same slow-fade pattern that has claimed many dominant platforms before it.
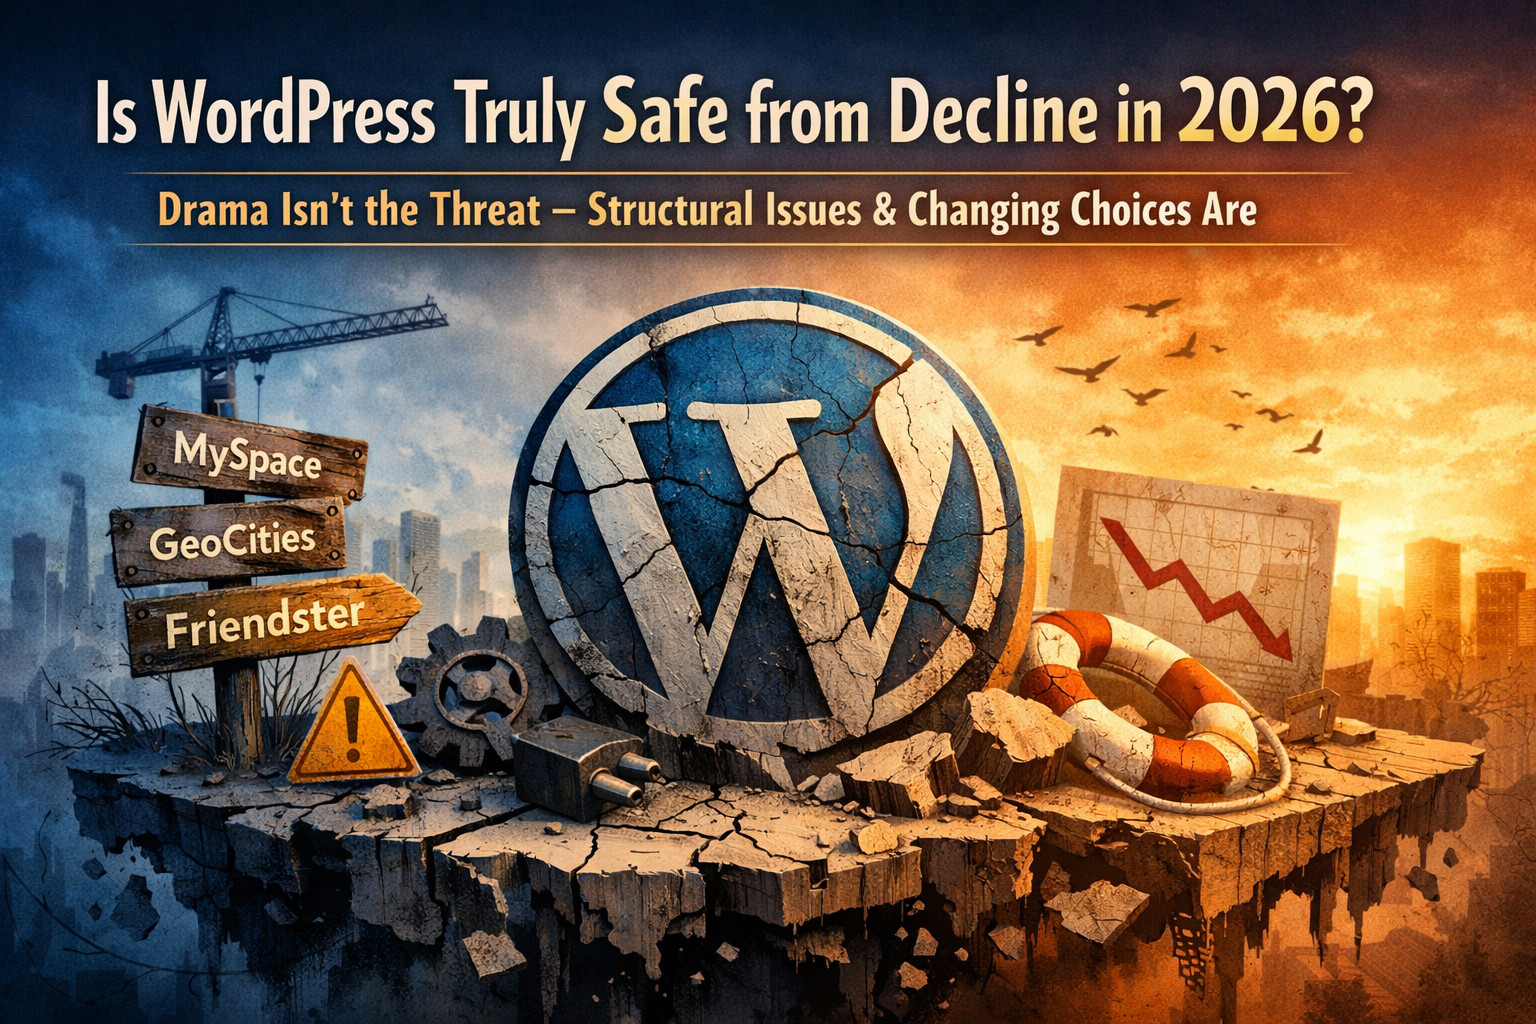
“Not Going Away” Has Been Said Before
The internet is filled with examples of platforms that were once considered untouchable:
- Friendster – An early social networking giant that collapsed rapidly
- MySpace – The largest social platform in the world before becoming irrelevant
- GeoCities – Once synonymous with building a website
- Ning – A popular community-building platform that faded as alternatives emerged
- Posterous – A beloved blogging platform that shut down entirely
- Tumblr (pre-acquisition) – Massively influential, then gradually sidelined
None of these disappeared overnight.
They declined as newer platforms offered simpler models, better experiences, or fewer constraints.
WordPress may be larger than all of them ever were – but scale has never guaranteed permanence.
The Drama Wasn’t the Cause – It Was the Signal
The public disputes and controversies surrounding WordPress in the mid-2020s weren’t the root problem. They were a signal.
They exposed long-standing pressures that had been building quietly:
- Increasing centralization of control in an ecosystem marketed as decentralized
- Ongoing tension between open-source ideals and commercial interests
- Heavy reliance on third-party plugins for essential functionality
- Growing maintenance and compatibility risk for site owners
- Contributor fatigue and a more cautious community
The arguments may no longer dominate headlines in 2026, but the structural issues that fueled them remain unresolved.
The Plugin-First Model Is Showing Its Age
One of WordPress’s biggest long-term challenges has little to do with drama and everything to do with architecture.
Modern WordPress sites often depend on:
- Dozens of plugins
- Multiple unrelated vendors
- External SaaS services
- Continuous updates that can break compatibility
This introduces:
- Security risk
- Performance overhead
- Update anxiety
- Higher long-term maintenance costs
This model worked when websites were simple.
It becomes fragile when websites are businesses, platforms, or revenue-critical systems.
WordPress Doesn’t Have to Close to Stop Being Chosen
Here’s the uncomfortable reality:
A platform doesn’t need to disappear to lose relevance.
That’s exactly what happened with many past website builders and platforms:
- They continued to exist
- They retained legacy users
- But new projects stopped choosing them
In 2026, WordPress is still everywhere – but it is no longer the automatic starting point it once was.
That shift matters more than market share statistics.
History Shows That “Too Big to Fail” Platforms Still Fade
The assumption that WordPress will always dominate because of its size ignores how the web actually works.
Dominant platforms rarely collapse during their most public controversies.
They decline afterward – quietly – as innovation slows and alternatives become more appealing.
And historically, the quiet phase is often more dangerous than the loud one.
When attention moves on, structural weaknesses don’t disappear. They compound.
What This Means When Choosing a Website Builder in 2026
This isn’t about panic or predictions of immediate collapse. It’s about trajectory.
WordPress may still make sense if:
- Your site is content-focused
- You already rely heavily on its ecosystem
- You’re comfortable managing plugins, updates, and compatibility
It may be a poor fit if:
- You want built-in functionality instead of layered add-ons
- You want predictable updates
- You want fewer external dependencies
- You’re building something meant to scale cleanly over time
This is why many site owners are evaluating alternatives more seriously than they did in the past.
The Spotlight Moved On – the Question Didn’t
The WordPress drama hasn’t ended in 2026.
It simply stopped being center stage.
The legal questions, governance tensions, architectural limitations, and ecosystem dependencies that sparked controversy still exist – they’re just unfolding more quietly now.
History shows that platforms rarely fail at the height of public drama.
They fade afterward, when attention drifts, urgency disappears, and the default choice quietly changes.
WordPress doesn’t need to vanish to be “over.”
Many platforms before it didn’t close.
They just stopped being chosen.
Related Posts: When Giants Fall: What Movable Type’s Demise Teaches Us About WordPress’s Future
Forking WordPress: A Path to Stability or an Opportunity to Rebuild?
Not familiar with the WordPress drama? Read these posts:
Mullenweg’s Grip On WordPress Challenged In New Court Filing
WordPress: Navigating Uncertainty Amidst Growing Interest in Alternatives